First-Time Setup Guide
In the Settings section, you’ll configure all essential details needed to run your organization within the Mitsudata platform.
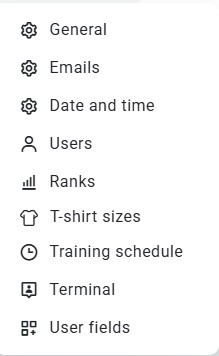
⚙️ General
Here you can define your organization's address, upload your logo, set up a medical form, and choose your preferred currency and language.
Additionally, you can enable or disable various modules of the Mitsudata app, such as:
- Exam module (for managing belt tests)
- Store module (for merchandise orders)
- Medical checkup module
📧 Emails
Configure your email server settings here. Enter:
- Server address
- Port numbers
- Login credentials
These details will allow the platform to send and receive emails via your preferred mail client.
🗓️ Date and Time
Set your local time zone, date format, and whether to use 12-hour or 24-hour time display.
👤 Users
Create and manage user accounts for administrative purposes. Types of users include:
- Terminal account – For attendance tracking via RFID
- Organization Admin – Full access to manage system data
- OrgDashboard – View and manage member details, such as approving exam readiness
🥋 Ranks
Configure skill levels (e.g., Kyu/Dan) to classify your members by rank.
👕 T-shirt Sizes
Define available T-shirt sizes so members can select their preferred size, useful for organizing apparel orders.
📅 Training Schedule
Set up your training sessions and conditions for attendance tracking. You can specify:
- Validity date range for each session
- Age restrictions
- Rank-based access to specific sessions
🖥️ Terminal
Configure how your attendance terminal should function. Three available modes:
- Date and time only – Simple timestamp logging
- By age – Automatically assign training based on age
- By age and session settings – Assign sessions using both age and eligibility criteria
🧩 User Fields
Create custom fields to collect additional information from your users. You can add fields of type:
- Text
- Number
- Date
- Checkbox
Use the "Show in Member Zone" flag to make them visible to members in their account view.